Eggnog Ice Cream
Rich and Creamy Homemade Eggnog Ice Cream with Warm Spices
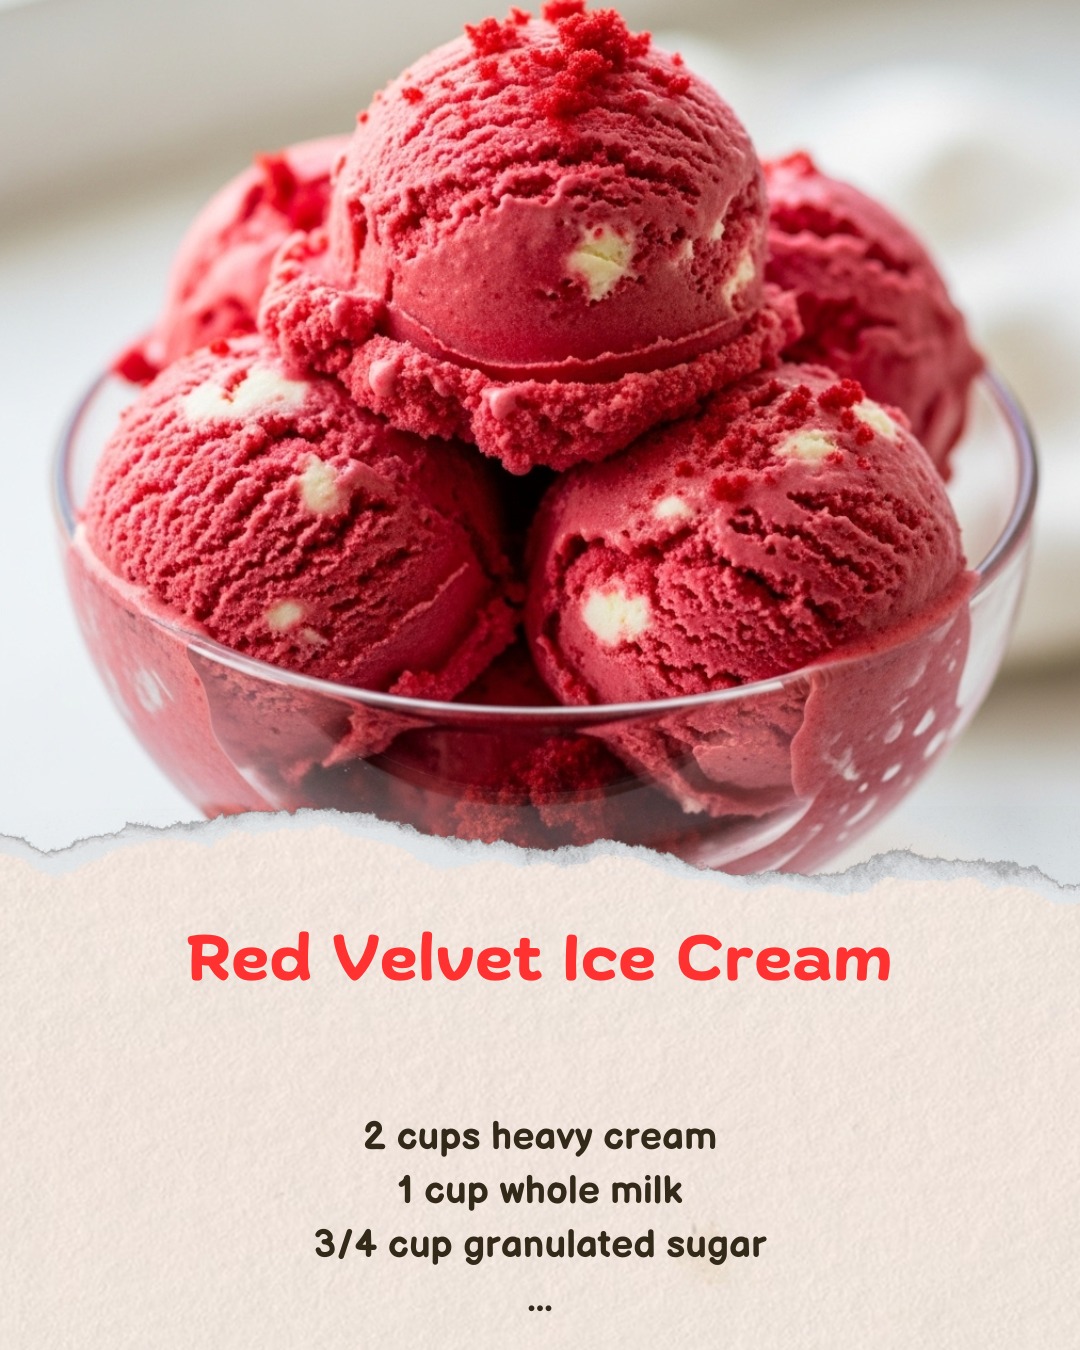
Ingredients:
2 cups heavy cream
1 cup whole milk
3/4 cup granulated sugar
1 cup store-bought or homemade eggnog
1/4 teaspoon ground nutmeg
1/4 teaspoon ground cinnamon
1 teaspoon pure vanilla extract
Pinch of salt
Optional: 1–2 tablespoons bourbon or rum (for an adult version)
Directions:
In a large mixing bowl, whisk together heavy cream, whole milk, sugar, eggnog, nutmeg, cinnamon, vanilla, and salt until well combined and the sugar is dissolved.
Chill the mixture in the refrigerator for at least 4 hours or overnight, until very cold.
Pour the chilled base into your ice cream maker and churn according to manufacturer’s instructions (usually 20–25 minutes).
If desired, fold in bourbon or rum during the last few minutes of churning for a boozy holiday twist.
Transfer the ice cream to a freezer-safe container and freeze for at least 4 hours until firm.
Serve scooped with a sprinkle of cinnamon or crushed gingersnap cookies.
Prep Time: 10 minutes + chill/freeze time | Churn Time: 25 minutes | Total Time: approx. 6 hours
Kcal: 305 kcal per serving | Servings: 6 servings
#eggnogicecream #holidaydesserts #homemadeicecream #christmasicecream #spicedicecream #festivedesserts #easyfrozendessert #wintericecream #nogicecream #vanillaandnutmeg #holidayflavors #icecreamtok #icecreamseason #creamyholidaydessert #boozyicecream #homemadetreats #frozendelight #comfortindessert #icecreamdream #wintertreats
Capture holiday cheer in every scoop! This Eggnog Ice Cream is rich, creamy, and filled with festive spices—perfect for winter celebrations.
Rich and Creamy Homemade Eggnog Ice Cream with Warm Spices
Ingredients:
2 cups heavy cream
1 cup whole milk
3/4 cup granulated sugar
1 cup store-bought or homemade eggnog
1/4 teaspoon ground nutmeg
1/4 teaspoon ground cinnamon
1 teaspoon pure vanilla extract
Pinch of salt
Optional: 1–2 tablespoons bourbon or rum (for an adult version)
Directions:
In a large mixing bowl, whisk together heavy cream, whole milk, sugar, eggnog, nutmeg, cinnamon, vanilla, and salt until well combined and the sugar is dissolved.
Chill the mixture in the refrigerator for at least 4 hours or overnight, until very cold.
Pour the chilled base into your ice cream maker and churn according to manufacturer’s instructions (usually 20–25 minutes).
If desired, fold in bourbon or rum during the last few minutes of churning for a boozy holiday twist.
Transfer the ice cream to a freezer-safe container and freeze for at least 4 hours until firm.
Serve scooped with a sprinkle of cinnamon or crushed gingersnap cookies.
Prep Time: 10 minutes + chill/freeze time | Churn Time: 25 minutes | Total Time: approx. 6 hours
Kcal: 305 kcal per serving | Servings: 6 servings
#eggnogicecream #holidaydesserts #homemadeicecream #christmasicecream #spicedicecream #festivedesserts #easyfrozendessert #wintericecream #nogicecream #vanillaandnutmeg #holidayflavors #icecreamtok #icecreamseason #creamyholidaydessert #boozyicecream #homemadetreats #frozendelight #comfortindessert #icecreamdream #wintertreats
Capture holiday cheer in every scoop! This Eggnog Ice Cream is rich, creamy, and filled with festive spices—perfect for winter celebrations.
Eggnog Ice Cream
Rich and Creamy Homemade Eggnog Ice Cream with Warm Spices
Ingredients:
2 cups heavy cream
1 cup whole milk
3/4 cup granulated sugar
1 cup store-bought or homemade eggnog
1/4 teaspoon ground nutmeg
1/4 teaspoon ground cinnamon
1 teaspoon pure vanilla extract
Pinch of salt
Optional: 1–2 tablespoons bourbon or rum (for an adult version)
Directions:
In a large mixing bowl, whisk together heavy cream, whole milk, sugar, eggnog, nutmeg, cinnamon, vanilla, and salt until well combined and the sugar is dissolved.
Chill the mixture in the refrigerator for at least 4 hours or overnight, until very cold.
Pour the chilled base into your ice cream maker and churn according to manufacturer’s instructions (usually 20–25 minutes).
If desired, fold in bourbon or rum during the last few minutes of churning for a boozy holiday twist.
Transfer the ice cream to a freezer-safe container and freeze for at least 4 hours until firm.
Serve scooped with a sprinkle of cinnamon or crushed gingersnap cookies.
Prep Time: 10 minutes + chill/freeze time | Churn Time: 25 minutes | Total Time: approx. 6 hours
Kcal: 305 kcal per serving | Servings: 6 servings
#eggnogicecream #holidaydesserts #homemadeicecream #christmasicecream #spicedicecream #festivedesserts #easyfrozendessert #wintericecream #nogicecream #vanillaandnutmeg #holidayflavors #icecreamtok #icecreamseason #creamyholidaydessert #boozyicecream #homemadetreats #frozendelight #comfortindessert #icecreamdream #wintertreats
Capture holiday cheer in every scoop! This Eggnog Ice Cream is rich, creamy, and filled with festive spices—perfect for winter celebrations.